
You noticed something — a board that feels soft underfoot, a slight buckle near the bathroom door, a stain that wasn’t there before the last big rain. Maybe it happened after a pipe burst, an appliance leaked, or one of those storms that rolls through the South Shore and leaves basements soaked. Whatever the source, you’re now wondering how bad it really is.
That uncertainty is the hardest part. The floor might look mostly fine — but with water damage, what you can see is rarely the whole picture. We’ll help you understand what’s actually happening inside your floors, what the repair process looks like, and when it’s time to stop guessing and call someone who knows.
What Happens When Water Gets Under Your Floorboards
Wood is porous. Hardwood flooring can absorb a significant amount of moisture — and when it does, it swells. That swelling is what causes the cupping, buckling, and warping you see on the surface. But here’s what most people don’t realize: the boards themselves are only the beginning.
Water doesn’t stop at the surface. It travels downward, through the seams between boards, into the subfloor beneath. The subfloor — typically plywood or OSB — absorbs moisture too, and when it does, it can swell, delaminate, or begin to rot. In Nassau County, where many homes were built in the post-war boom of the 1940s through 1960s, that subfloor may already have decades of humidity cycles behind it. That history matters when water gets involved.
Why the Floor Feels Dry But the Damage Keeps Getting Worse
This is one of the most common things we hear from homeowners: “I dried it out, but the floor still looks wrong.” There’s a straightforward reason for that. The surface of the wood dries first — sometimes within a day or two — while the moisture below continues to sit. The top of the floor may feel dry to the touch, but the wood beneath the surface and the subfloor below it can still be saturated.
That uneven drying is exactly what causes the floor to change shape after the visible water is gone. The top layer shrinks as it dries while the bottom stays swollen, creating the cupped or crowned appearance that tells you something is still off. Running a fan or a household dehumidifier helps, but it rarely reaches the moisture that’s already migrated into the lower layers.
One of the most important tools in a professional assessment is a moisture meter. It measures the actual moisture content inside the wood — not just at the surface — and gives a real picture of how wet things still are below. Without that reading, you’re guessing. And with water damage, guessing tends to be expensive.
There’s also a timeline that matters here. If wood floors stay saturated for more than 48 hours, the likelihood of permanent damage — cupping that won’t flatten, subfloor delamination, mold growth — increases significantly. That window closes faster than most people expect, especially in a coastal county like Nassau where the air itself holds more moisture. A home near Long Beach or Freeport in August isn’t drying the same way a home in a drier inland climate would.
If it’s been more than a couple of days since the water event and your floor still doesn’t look right, it’s worth having someone come out and actually measure what’s going on below the surface.
The Mold Question — What Nassau County Homeowners Need to Know
Mold is the part of this conversation that nobody wants to have, but it’s too important to skip. If a floor stays wet for more than 48 hours, mold growth in the space between the hardwood and the subfloor should be treated as a real possibility — not a worst-case scenario. The problem is that mold in that cavity is invisible from above. The floor can look completely normal on the surface while mold is actively growing underneath.
Nassau County’s climate makes this more than a theoretical concern. The county sits in a humid subtropical zone, with coastal air that keeps moisture levels elevated for much of the year. After Sandy in 2012, and again after the record rainfall events in August 2024, thousands of Nassau County homes dealt with water intrusion — and many of the worst outcomes weren’t from the initial flooding but from moisture that wasn’t fully addressed in time.
The older the home, the more this matters. A house built in the 1950s in Merrick or Wantagh likely has original hardwood floors that have been in place for 60 or 70 years. Those floors have real value — old-growth oak of a density and quality you can’t easily replicate with modern lumber. But they’ve also spent decades absorbing the humidity cycles of a coastal Long Island climate, which means any additional moisture event needs to be handled carefully.
If you’re concerned about mold, the right move is a professional assessment — not just a visual check, but an actual moisture reading and, if warranted, an inspection of the subfloor. Catching it early is the difference between a targeted repair and a much larger remediation job.
Repair Water Damaged Wood: What the Process Actually Looks Like
Once you know the extent of the damage, the repair process can begin — and it looks different depending on what’s actually going on beneath the surface. Surface-level damage that hasn’t reached the subfloor is a very different job than a situation where boards have buckled, the subfloor is compromised, or mold has taken hold.
The first step is always drying — proper drying, using industrial air movers and dehumidifiers calibrated to target humidity levels, not space heaters or fans pointed at the floor. Applying direct heat to wet wood dries the surface too fast, which causes cracking while moisture stays trapped below. Getting the drying right is what makes everything else possible.
Can Water-Damaged Hardwood Floors Be Saved — or Do They Need to Be Replaced?
This is the question most homeowners are really asking, and the honest answer is: it depends on how quickly you act and how deep the damage goes. Many water-damaged hardwood floors can be restored through professional drying and refinishing at a fraction of the cost of full replacement. But that window narrows the longer you wait.
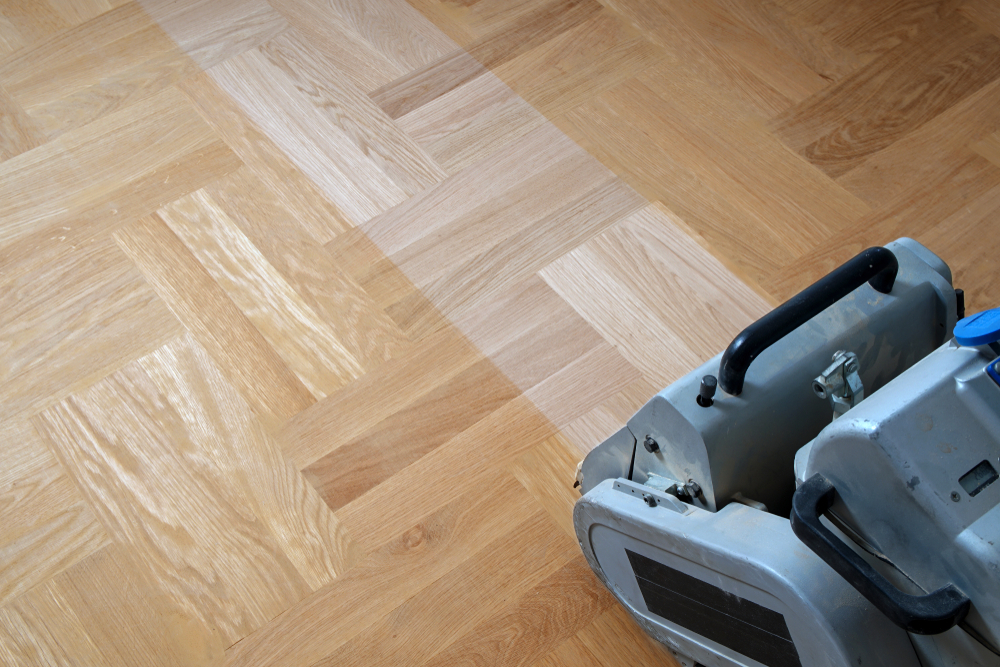
If the boards have cupped but the subfloor is intact and the moisture levels have come down to a safe range, sanding and refinishing is often the right path. The floor gets sanded back to bare wood, any damaged boards are replaced and matched to the existing species and stain, and a new finish is applied. Done well, you can’t tell where the damage was.
If the subfloor has been compromised — swollen, delaminated, or showing signs of rot — that needs to be addressed before any surface work happens. Refinishing over a damaged subfloor is a short-term fix that creates longer-term problems. The subfloor has to be right for the hardwood above it to perform correctly.
For Nassau County homeowners with original hardwood floors in older homes, saving those floors is almost always worth pursuing before defaulting to replacement. The old-growth oak in a 1950s Massapequa or Bellmore home is genuinely harder and denser than what’s available today. Replacing it with modern lumber — or worse, engineered wood — isn’t an upgrade. A skilled refinishing job that restores those original floors is both better for the home and, in most cases, more cost-effective.
The key is getting an honest assessment from someone who will tell you what actually needs to happen — not what generates the biggest job.
How to Fix Water Damaged Wood: When DIY Makes Sense and When It Doesn’t
There’s a version of this where DIY is reasonable. If you caught a small spill quickly, the affected area is limited to a few boards in a low-traffic spot, and you’ve confirmed the moisture hasn’t reached the subfloor, surface-level fixes like light sanding or spot refinishing are within reach for a handy homeowner.
But most of the scenarios that lead someone to search for help with fixing water damage on wood floors are not that version. They involve a leak that went unnoticed for days, a flooding event that soaked a larger area, or damage that’s been quietly getting worse for weeks. In those cases, DIY approaches tend to make things worse, not better.
The most common mistake is using heat to speed up drying — hair dryers, space heaters, or even opening windows on a humid summer day in Nassau County. Heat dries the surface of the wood faster than the interior, which causes the board to crack or warp in a new direction. Another common error is refinishing before the wood has fully dried. The floor may feel ready, but if the moisture content inside the board is still elevated, the new finish won’t bond correctly and the floor will continue to move.
There’s also the matching problem. Replacing damaged boards and blending them seamlessly into an existing floor requires real skill — in selecting the right species and grade, in achieving a stain match that holds across the full floor, and in feathering the finish so the repair disappears. It’s one of the more technically demanding parts of hardwood floor work, and it’s where a lot of DIY repairs end up looking like repairs.
If you’re unsure where your situation falls, the most useful thing you can do is get a professional to come out and look. Not to commit to anything — just to get an honest read on what you’re dealing with. That assessment costs you nothing but time, and it gives you real information to make a decision with.
Getting Water-Damaged Wood Floors Fixed Right in Nassau County, NY
Water damage moves fast, and the gap between a repair and a full replacement often comes down to how quickly you get someone who knows what they’re looking at involved. The visible damage — the buckled board, the stain, the soft spot — is the signal. What’s happening below the surface is the real story.
Nassau County homes, especially the older ones along the South Shore and throughout the county’s post-war neighborhoods, have hardwood floors worth saving. Getting them properly assessed, dried, and restored by someone with real experience in this kind of work is almost always the right call.
We’ve been doing exactly this kind of work on Long Island for over 50 years. If you’ve got water damage and you want a straight answer about what it will take to fix it, reach out for a free estimate — no pressure, just an honest look at what you’re working with.